Using the Correct Method to Clean Your Dusty Phone Speakers
- getdipmop
- Mar 7, 2022
- 4 min read
If the sound quality from your phone's speaker is not as good as it was when it was first purchased, you may need to set aside some time to clean it. When used on a daily basis, the surface of the speaker collects dirt and dust. Furthermore, if you do not clean it for an extended period of time, the layers of dust might become caked on and seep into the surface. As a result, the speakers are unable to perform to their fullest ability on stage. You have nothing to be concerned about. While cleaning your phone is a snap, cleaning the speaker region of your phone requires extra attention and care due to the fact that it is a delicate component. It is possible to avoid dirt from getting inside the speaker if you clean it on a regular basis. However, this is not always possible.
Following That, You Will Find a Tutorial on How to Use This Amazing Trick to Fix the Sound on Your Phone.
Go to your web browser and log in. More information can be found at curing fix my speaker dust.
The option "Tap to activate blowers" can be found at the very top of the display screen.
To access the icon, simply click on it.
It is anticipated that a sound will be played.
Use a high frequency to play it; the higher the frequency, the more quickly the dirt is removed from the surface.
Ideally, this sound should be played three or four times.
Congratulations! You have found a solution to the problem with your phone's sound.
Please keep in mind to turn your phone's backside up throughout this procedure..
First and foremost, you will not be charged a single penny for using this facility, in contrast to the service center. More to the point, you won't have to deal with a toothbrush or have to wait overnight to complete the task. Make a note of this page in the favorites section of your browser. It has the potential to save you from a wide range of unexpected and negative situations in the future.
The following are ingredients to keep on hand:
a) Toothbrush with a soft bristle
b) Use a piece of tape
c) Liquid dishwashing detergent
Why It's Important to Clean Your Phone Speaker on a Regular Basis
Cleaning the speaker region of your phone on a regular basis means preventing dirt from reaching the surface of the phone. In the event that you neglect to clean it from time to time, the obstinate, caked-on dust may eventually cause the phone's audio to cease functioning completely. You may also begin to have audio difficulties while making phone calls.
While cleaning this delicate element of your phone may appear to be a difficult task, we will show you how to do it in a systematic manner in this post.
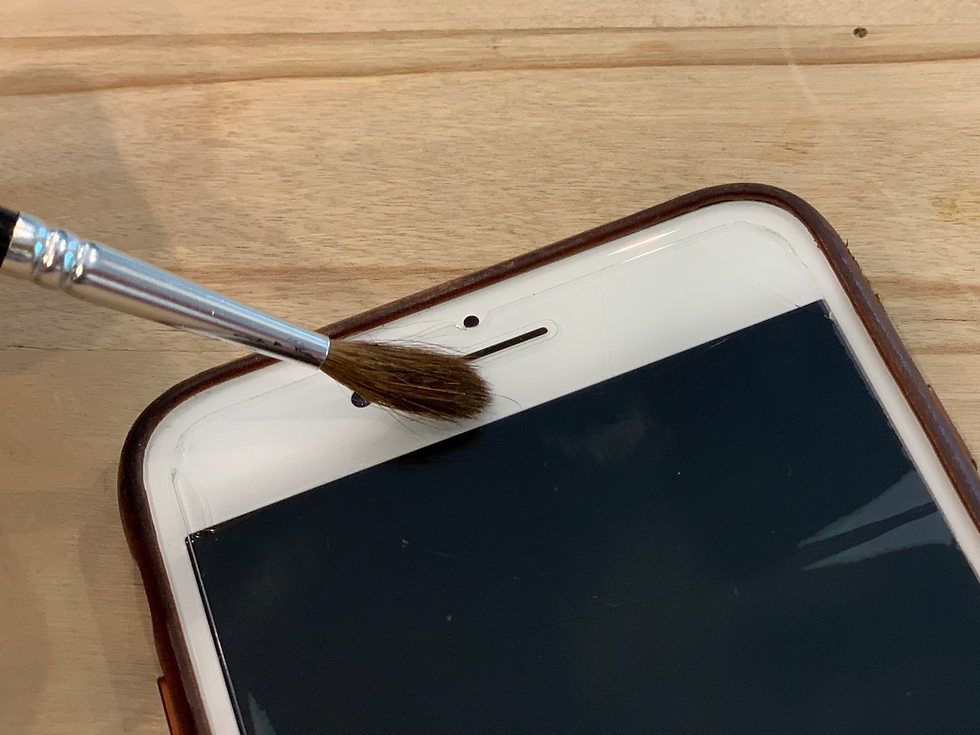
Method 1: Brushing your teeth with a toothbrush
Step 1: Wash your hands thoroughly.
It is necessary to wash your hands before cleaning your phone speaker. Yes, you did read that correctly. Using this method, you can prevent dirt particles from your palm from traveling to your phone. Using a clean towel, pat dry your hands after they have been thoroughly cleansed.
Step 2: Turn off the computer.
Before you begin cleaning, switch off your phone and put it somewhere safe. This is a critical first step. Never wipe your phone while it is still powered on.
Step 3: Brush your teeth with a toothbrush
You can begin cleaning as soon as the phone has been turned off and unplugged. You'll need a toothbrush with gentle bristles for this task. A used toothbrush may even suffice; however, make sure it is thoroughly cleaned before continuing.. If you have a spare toothbrush for your child, you can use that as well because children's toothbrushes are softer than adult toothbrushes.
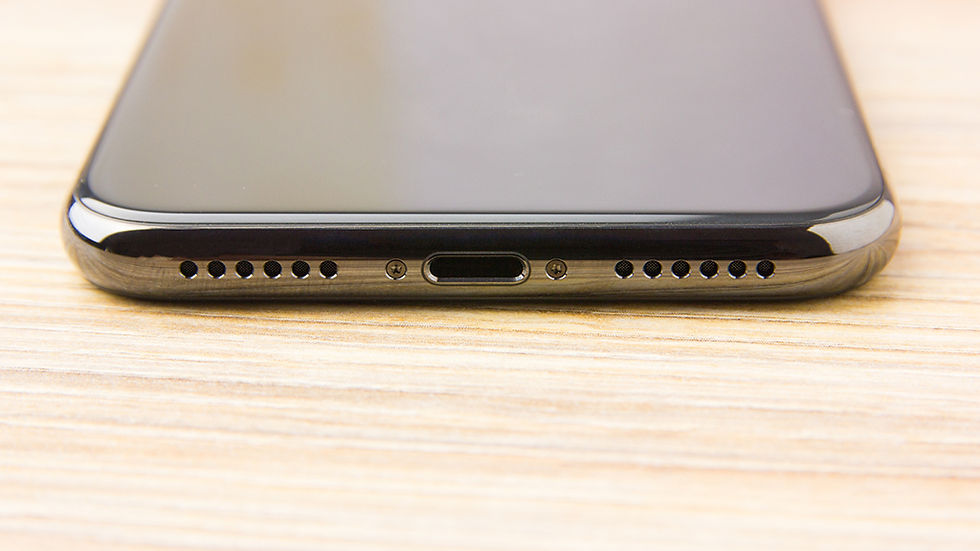
Step 4: Wipe the Speaker Port Clean
Look for the speaker port on your phone and plug it in. Gently scrape the surface with the toothbrush. When cleaning phone speakers, avoid scrubbing too hard since if the bristles go inside the speaker, they might cause damage to the phone. To remove dirt particles, simply brush them away with a soft hand.
Step 5: Gently shake the container.
After you have removed all of the dirt particles from your phone, gently shake it to free any remaining dirt.
Step 6: Delete All Information From Your Phone
Finally, wipe the surface of your phone clean to ensure that there is no stray dust left on it. This should be done with a moist towel. Additionally, you can mix a drop of dishwashing liquid with some water, then dip your cloth in the mixture and use it to wipe down your phone. The Vim Dishwash Gel, which is readily accessible on the market, is our recommended option for this task. Do not use a soaking wet cloth to wipe the surface of your phone; instead, squeeze the fabric thoroughly before pressing it to the phone surface.
Step 7: Wipe It Down With A Dry Cloth
Allow for the drying of the surface once it has been cleaned. Then wipe it down with a dry cloth to ensure that all of the moisture has been removed.
Step 8. Clean the Headphone Jack (Optional).
For those of you who have discovered dirt in your headphone jack and would like to clean it, we have an easy solution for you. It's as simple as taking a small cotton bud and gently pushing it into the hole. Now, twist it around to remove any remaining dirt from the sides of the hole. Take the cotton swab out of the bag. The majority of dirt will be removed in this manner. If there is any remaining dirt, perform the procedure once more to remove it. Keep in mind that you should not force the cotton bud into the hole.
Method 2: Using a Roll of Tape
Step1: Obtain some masking tape.
Take a small piece of tape and roll it into a cylinder shape to use as a template. Make sure the sticky side is facing out after you're finished.
Step 2: Place the tape over the speaker of your phone.
Place the tape over the speaker on your phone. The adhesive side of the tape is what attracts the majority of the dirt that has accumulated in and around your speakers.
Step 3: Repeat the process.
Keep in mind to replace the piece of tape as soon as it becomes soiled. Continue this procedure until there is no dirt visible on the tape. That means that the majority of the dirt has been eliminated.

Comments